ALL ABOUT EAR STRETCHING
The Complete Guide To Gauges, Sizes, Jewellery & How to Do It Right

Ear stretching has become a popular body modification fashion trend, as a form of self-expression. The trend is often associated with alternative communities, but it's also found its way into mainstream fashion. The trend’s popularity has sparked a diverse community, with some embracing it for its cultural significance, while others simply enjoy the aesthetic appeal of larger piercings and the unique jewellery that comes with it.
If you find this interesting, read our
INSIDE THIS GUIDE —
From First Stretch to Final Look:
START STRETCHING
- What Is Ear Stretching?
- From Studs to Tunnels: The Stretching Journey
- Step-by-step: Stretch It Right
- Aftercare & Maintenance
SIZE MATTERS
How to Measure Your Jewellery - Gauge Talk: From Millimeters to Inches
STRETCHED EARS JEWELLERY
- Ear Stretchers
- Plugs & Tunnels
- Ear Weights & Hangers
- FAQ
START STRETCHING
Thinking about stretching your ears but not sure how to begin? Whether you're going for a subtle stretch or a bold statement, we're here to walk you through the basics and get you started the right way.
What Is Ear Stretching?
Ear stretching is all about gradually increasing the size of a piercing — usually in the earlobe — by slowly introducing larger jewellery over time. This gentle approach lets your skin adapt and stretch naturally, without tearing or damaging the tissue. Most journeys start with a regular earring size and move up using tools like tapers or plugs.
The key is to go slow, stay clean, and give your ears the care they need to avoid irritation or infection. Patience pays off — and so do healthy lobes!

From Studs to Tunnels: The Stretching Journey
How Big Are You Going?
When it comes to ear stretching, size is totally personal — some people stop at a subtle 4mm (6g), while others go all the way to an inch (or more!) The key is knowing your goal and respecting the process along the way. Whether you're stretching for style, culture, or self-expression, there's no "right" size — just what feels right for you. Take it slow, measure carefully, and enjoy the journey. After all, it’s not just about how big you go — it’s how well you get there.
Are you ready?
Before you even think about stretching, make sure your piercing is fully healed — that usually means at least 6 months, though longer is always better. If you're starting from a standard ear piercing (around 0.8mm or 20g), your first stretch should typically be to 2mm (14g). Stretching your ears isn’t a race, and trying to rush it can lead to tears, blowouts, or permanent damage. Always go up one size at a time and give your ears the time they need to adjust naturally.
Slow and steady is the way to go!
Prep your gear ahead of time:
- Tapers: Long, cone-shaped tools that help ease your ear into a new size.
- Plugs or tunnels: The jewellery you wear after stretching.
- Lubricant: Jojoba oil, vitamin E oil, or a coconut oil to help things slide in smoothly.
- Antibacterial soap: To keep everything clean before and after.
*Avoid acrylic tapers or cheap jewellery. Stick to surgical steel, glass, or titanium for now — your lobes will thank you.
Stretching Steps – Stretch It Right
1. Start Fresh: Always stretch right after a warm shower — your lobes will be soft, relaxed, and easier to work with. Give them a gentle massage under warm water and make sure your hands are squeaky clean before you begin.
2. Lube It Up: Apply a small amount of oil (like jojoba, vitamin E or coconut oil) to both your lobe and the taper. This helps everything slide in smoothly and reduces friction.
3. Easy Does It: Gently insert the taper until it slides through. It might feel tight, but it should never be painful. If it hurts, stop. A little pressure is normal, but pain means you're pushing too hard.
4. Plug It In: Once through, insert your plug or tunnel immediately behind the taper.
5. Keep It Clean: Give your new jewellery and ear a final clean with antibacterial soap or saline solution. Then leave your lobes alone — no twisting, no fussing. Let them chill and start healing in peace.
Stretching your ears safely is all about patience, hygiene, and good vibes. Respect your body, don’t rush it, and enjoy the process.
Aftercare & Maintenance
Taking care of your ears during and after stretching is key if you want to avoid problems and keep everything looking (and feeling) great. Here are some simple tips to keep your stretched lobes in top shape:
Choose Safe Jewellery:
Stick to high-quality materials like titanium, surgical steel, or glass — they're safe for your skin and reduce the risk of irritation or infection.
Keep It Clean:
Clean your ears and jewellery with saline solution daily to avoid infection. Don't use alcohol or hydrogen peroxide, as they can dry out the skin.
Stay Moisturized:
Use oils like jojoba oil, vitamin E oil or coconut oil to keep the skin around your piercing soft and flexible. This helps prevent tearing and dryness.
Hands Off:
Try not to touch your piercing too much, as dirty hands can introduce bacteria, leading to infection.
Monitor for Infection:
Watch for signs of infection such as redness, swelling, pain, or discharge. If you notice any, seek medical advice.
Be Patient:
Give your ears enough time to heal properly before moving to the next size. Stretch your ears gradually, allowing them time to heal between each size increase. Never rush the process to prevent damage.
By showing your ears a little love and patience, you’ll set yourself up for a smooth stretching journey — and lobes that look just as good as they feel.
SIZE MATTERS
When you're jewellery shopping for your stretched ears, knowing your size is super important. This means the diameter of the part that actually goes into your piercing — also called the gauge size. It can be a little confusing at first, since gauge numbers work in reverse: the smaller the number, the bigger the jewelry. For example, 8g is larger than 12g. Once you get the hang of it, it’s easy — and makes finding the right fit a breeze.
How to Measure Your Jewellery

Gauge Talk: From Millimeters to Inches
There’s plenty of debate in the stretching world about which measurement system is best. Some folks stick to gauge sizes, while others prefer measuring in millimetres. In the end, what really matters is accuracy — so go with the system that feels easiest for you to understand and track your progress.
Millimetres - provide more precision, and many people favour them because they’re simpler to understand, particularly once you’ve surpassed the 00g size or a further stretch.
Gauges - are the classic way to measure ear stretching sizes up to 10mm (00g).
Inches - work best for those who like dealing with fractions and math.

For the full Piercing Size Conversion Chart
Click Here
STRETCHED EARS JEWELLERY
Stretched ear jewellery comes in a variety of styles, allowing wearers to express their individuality. From the tools used during the stretching process to the decorative pieces worn once the ear is stretched, the options are vast and diverse — there's something for every look and vibe.
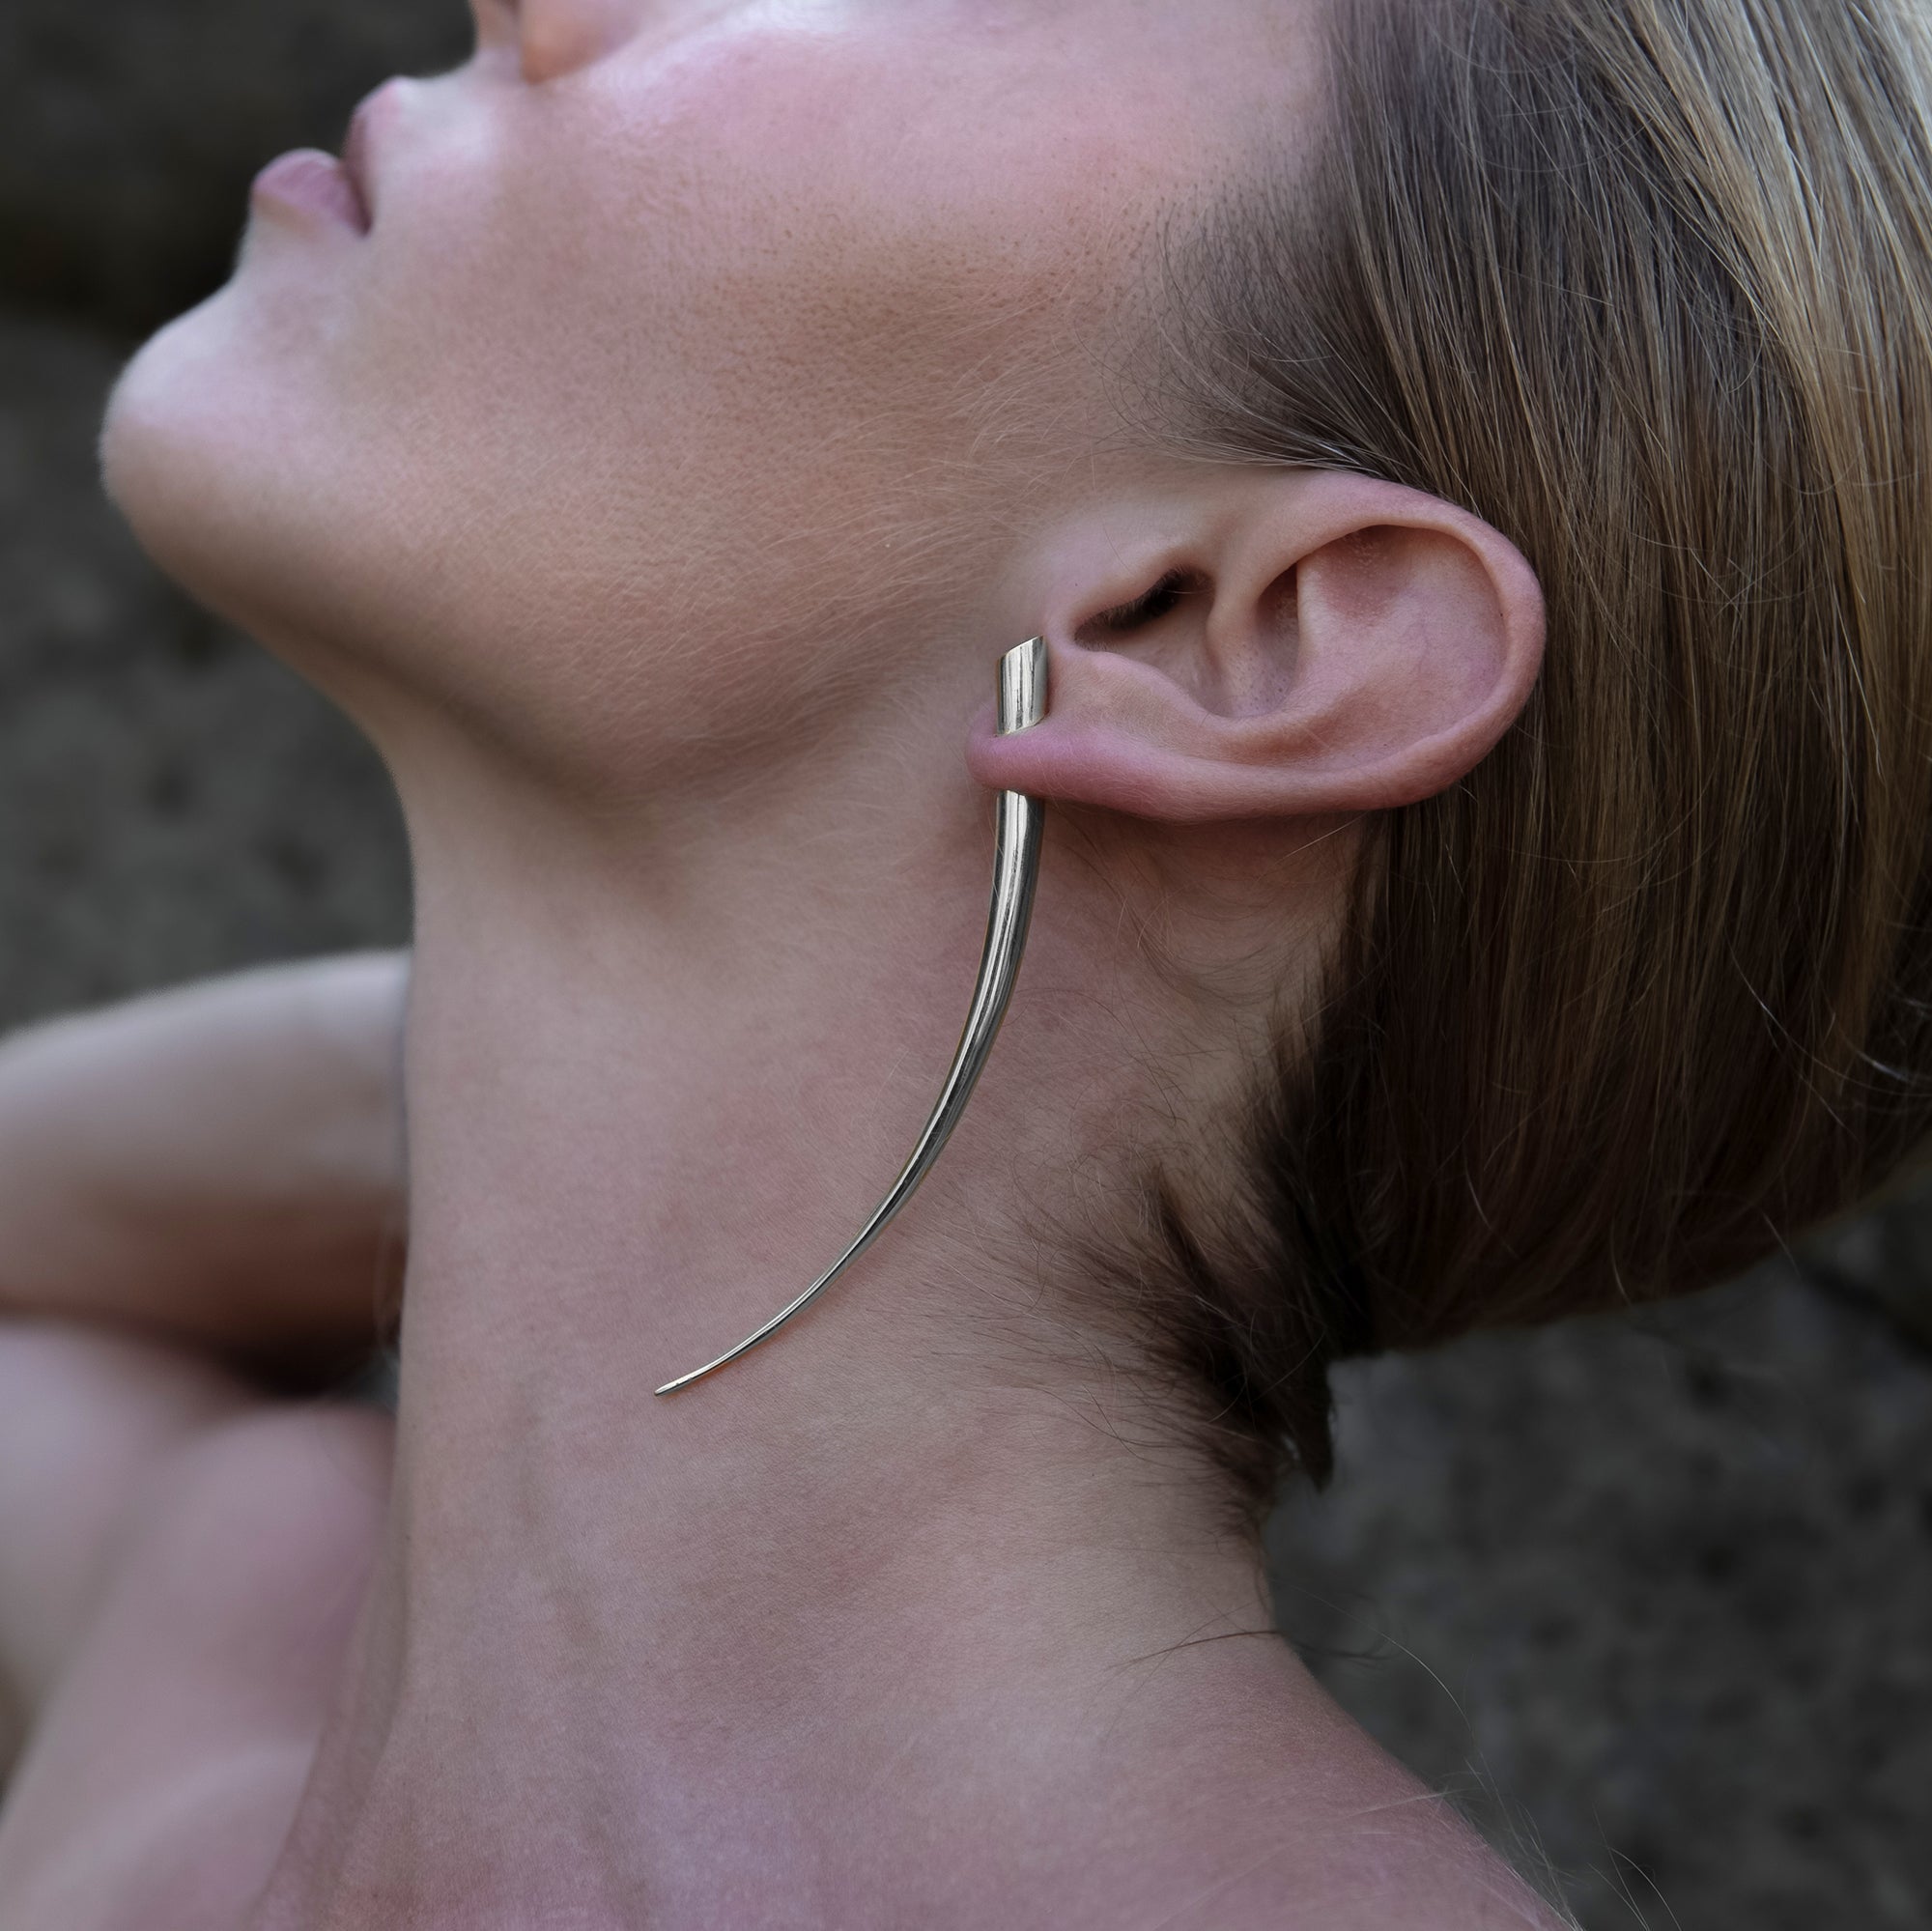
Ear Stretchers
Also known as expanders, are tools originally designed to gradually increase the size of a piercing. Usually shaped like tapers — long, cone-like pieces — they gently guide your ears into the next size as they're inserted.
While their main purpose is for stretching, stretchers have also evolved into stylish decorative jewellery.
With bold and creative designs like spirals, horseshoes, hooks, and more, many stretchers are now worn simply for their visual appeal. They offer the perfect blend of function and fashion, serving as both a tool in your stretching journey and a standout accessory.
Whether you're sizing up or just want to make a statement, stretchers bring a touch of edge and individuality to any stretched ear look.

Plugs & Tunnels
Are the most common types of jewellery for stretched ears. Plugs are solid and give a clean, minimal look, while tunnels are hollow and show the hole for a more dramatic effect.
Plugs and tunnels come in different flare styles that affect how they’re worn:
Single Flare have one flared end and one flat end. The flat side is held in place with a small O-ring (a soft rubber ring that keeps the plug from falling out). These are great for fresh stretches or ears that are still healing, since they’re easier to insert and remove.
Double Flare are flared on both ends. They stay in place naturally, but they do require your ears to be fully healed and stretched enough to fit over the wider flares.

Ear Weights & Hangers
Brings a striking, eye-catching touch to stretched ears. They offer a stylish alternative to standard plugs and tunnels. They are usually worn by those who have achieved larger gauge sizes and want to make a bold expressive fashion statement.
Ear weights are heavier pieces that use their weight to gently pull on the lobe, creating a natural stretch over time, they should only be worn in fully healed ears and not as a primary stretching method.
Hangers are decorative pieces that loop or hook through stretched ears, usually in creative shapes like spirals, crescents, or abstract designs. Unlike weights, they’re typically lighter and more about aesthetic than stretch.

FAQ:
- What are the potential risks of stretching my lobes?
- What materials are safe for stretching my ears?
- What jewellery should I use for stretching my ears?
- How long should I wait between each stretch?
- Is my stretched ear infected — and what can I do?
- What’s a blowout, and how do I deal with it?
- What’s ear gunk?
- Can stretched ears go back to normal?
What are the potential risks of stretching my lobes?
Stretching your lobes can come with a few potential risks if not done properly. These include:
- Infection: If the jewellery or your hands aren’t clean, bacteria can get into the piercing, causing an infection.
- Tearing or Blowouts: Stretching too quickly or using jewellery that's too large for your current size can cause the skin to tear or cause a blowout, which is when the piercing expands unevenly and forms a raised scar around the hole.
- Keloids or Scarring: Some people are prone to developing raised scars (keloids) as the piercing heals, especially if it was stretched too aggressively.
- Poor Healing: Stretching too soon or too fast doesn’t allow the tissue to heal properly, which can result in pain, swelling, or rejection of the jewellery.
To avoid these risks, it's important to stretch slowly, use the right jewellery, and ensure you're following proper aftercare during the healing process!
What materials are safe for stretching my ears?
When stretching your ears, it's essential to use safe materials that won’t irritate or damage your skin.
Here are some recommended materials for ear stretching:
- Titanium: Highly recommended due to its lightweight nature, hypoallergenic properties, and resistance to corrosion. It's a great choice for those with sensitive skin.
- Surgical Steel: A durable and non-reactive material that’s commonly used for piercings. It’s affordable and generally safe for stretching.
- Glass: Smooth, non-porous, and hypoallergenic, glass is a great option for stretching. It also doesn’t harbor bacteria, making it a good choice for healing.
- Organic materials: Such as bone, wood, and some stones are popular for stretching ears. However, they must be smooth and properly sealed to prevent bacterial buildup.
Avoid materials like plastic (other than acrylic), which can cause irritation or even infection, and always make sure the jewellery is smooth and well-made.
What jewellery should I use for stretching my ears?
When stretching your ears, it's best to use jewellery that’s safe, smooth, and suitable for gradual stretching.
Here are some good options:
- Tapper: These are long, cone-shaped tools that help you stretch your ears gradually. They typically come in materials like titanium, surgical steel but also available in organic materials such as bone, horn and wood and are designed to make the process easier and safer.
- Single Flared Plugs or Tunnels: Once your ear is stretched to a certain size, you can use plugs made of materials like titanium, surgical steel, glass, or stone. Single-flare plugs are easier to insert, and are perfect for long-term wear.
Always make sure the jewellery is smooth and made from a safe material like titanium, surgical steel, or glass to avoid irritation or complications during the stretching process!
How long should I wait between each stretch?
Waiting time before sizing up, in general is 4 to 6 weeks, but the real answer depends on how your ears are doing.
As you go bigger, your lobes need more time to heal and adjust. Rushing leads to blowouts, thin lobes, and long-term damage.
Smaller sizes (up to 3mm/8g): 4–6 weeks minimum
Mid sizes (4mm/6g to 6mm/2g): 6–8 weeks
Larger sizes (8mm/0g and up): 2–3 months or more
Instead of only watching the calendar, watch your body.
Your ears are ready to stretch when:
- They feel completely normal (no soreness, swelling, or sensitivity)
- There’s no redness or irritation
- The jewellery moves freely (like you can wiggle it a little without discomfort)
- You can insert the next taper with minimal resistance — never force it.
Is my stretched ear infected — and what can I do?
If your stretched ear is feeling extra sore, swollen, red, warm to the touch, or is leaking yellow or greenish discharge with a strong odor — you might be dealing with an infection. Some irritation is normal, especially after a fresh stretch, but if those symptoms stick around or get worse, it’s time to take action.
How to Help It Heal:
Remove any irritants – If you’ve just stretched or changed jewellery, take a step back. Consider downsizing or switching to something non-reactive like implant-grade titanium, surgical steel or glass.
Clean gently – Use a saline solution (not alcohol or peroxide) to clean the area 1–2 times daily. Harsh products can slow healing and make things worse.
Avoid touching – Hands off unless you're cleaning, and always wash your hands first.
Let it breathe – If possible, remove the jewellery for a short time and let your lobe breathe, but don't leave it out too long if your stretch is newer (it could shrink).
Don’t stretch again until fully healed – Give your lobe plenty of time to recover before attempting to size up.
If things don’t improve within a few days, or if the symptoms worsen, it’s a good idea to see a doctor. Better safe than sorry — especially when it comes to your lobes!
What’s a blowout, and how do I deal with it?
A blowout happens when you stretch your ears too quickly or force in jewellery that's too big. It causes the skin inside your piercing to get pushed out the back of the lobe, creating a ring of raised or irritated tissue. It’s not only uncomfortable, but it can also lead to scarring if left untreated.
To treat a blowout:
- Downsize to a smaller gauge immediately to relieve pressure.
- Clean gently with saline solution and keep the area moisturized with something like jojoba oil.
- Let your ears rest — no stretching until they’ve fully healed (this can take several weeks).
- In some cases, massaging with oil daily can help reduce scar tissue over time.
If the blowout doesn’t improve or gets worse, it’s best to see a professional piercer or consult a dermatologist. Patience and proper care are key to healing and preventing future issues.
What’s ear gunk?
Ear gunk or ear funk, is that not-so-lovely smell that can build up on your stretched ear jewellery and lobes. It’s totally normal and happens due to a mix of dead skin cells, natural oils, sweat, and sometimes trapped moisture — especially when you're wearing plugs or tunnels for long periods without cleaning.
How to Deal with It:
- Clean your jewellery and ears daily with warm water and mild soap, or saline.
- Use breathable materials like glass, titanium, stone or wood (if your ears are healed). — they’re less likely to trap gunk.
- Moisturize with a bit of jojoba or vitamin E oil to keep your skin healthy.
- And yep — take your jewellery out once in a while to give your ears some fresh air!
No shame — it happens to pretty much everyone with stretched lobes at some point. Just keep it clean, and you’re good to go.
Can stretched ears go back to normal?
If you stop stretching your ears, they may shrink slightly, but they won't return to their original size, especially if stretched beyond 8mm (0g). Larger stretches will leave a visible hole, and the degree of shrinkage depends on how much and how long you've stretched. For smaller stretches, the ear may tighten, but for larger ones, the skin may remain loose. In some cases, you may need professional help to close or reduce the hole.
You Might Also Like
Jewellery material guide
Explore the materials behind our jewellery, from gold and silver to natural elements. This guide is here to help you choose what’s right for you.
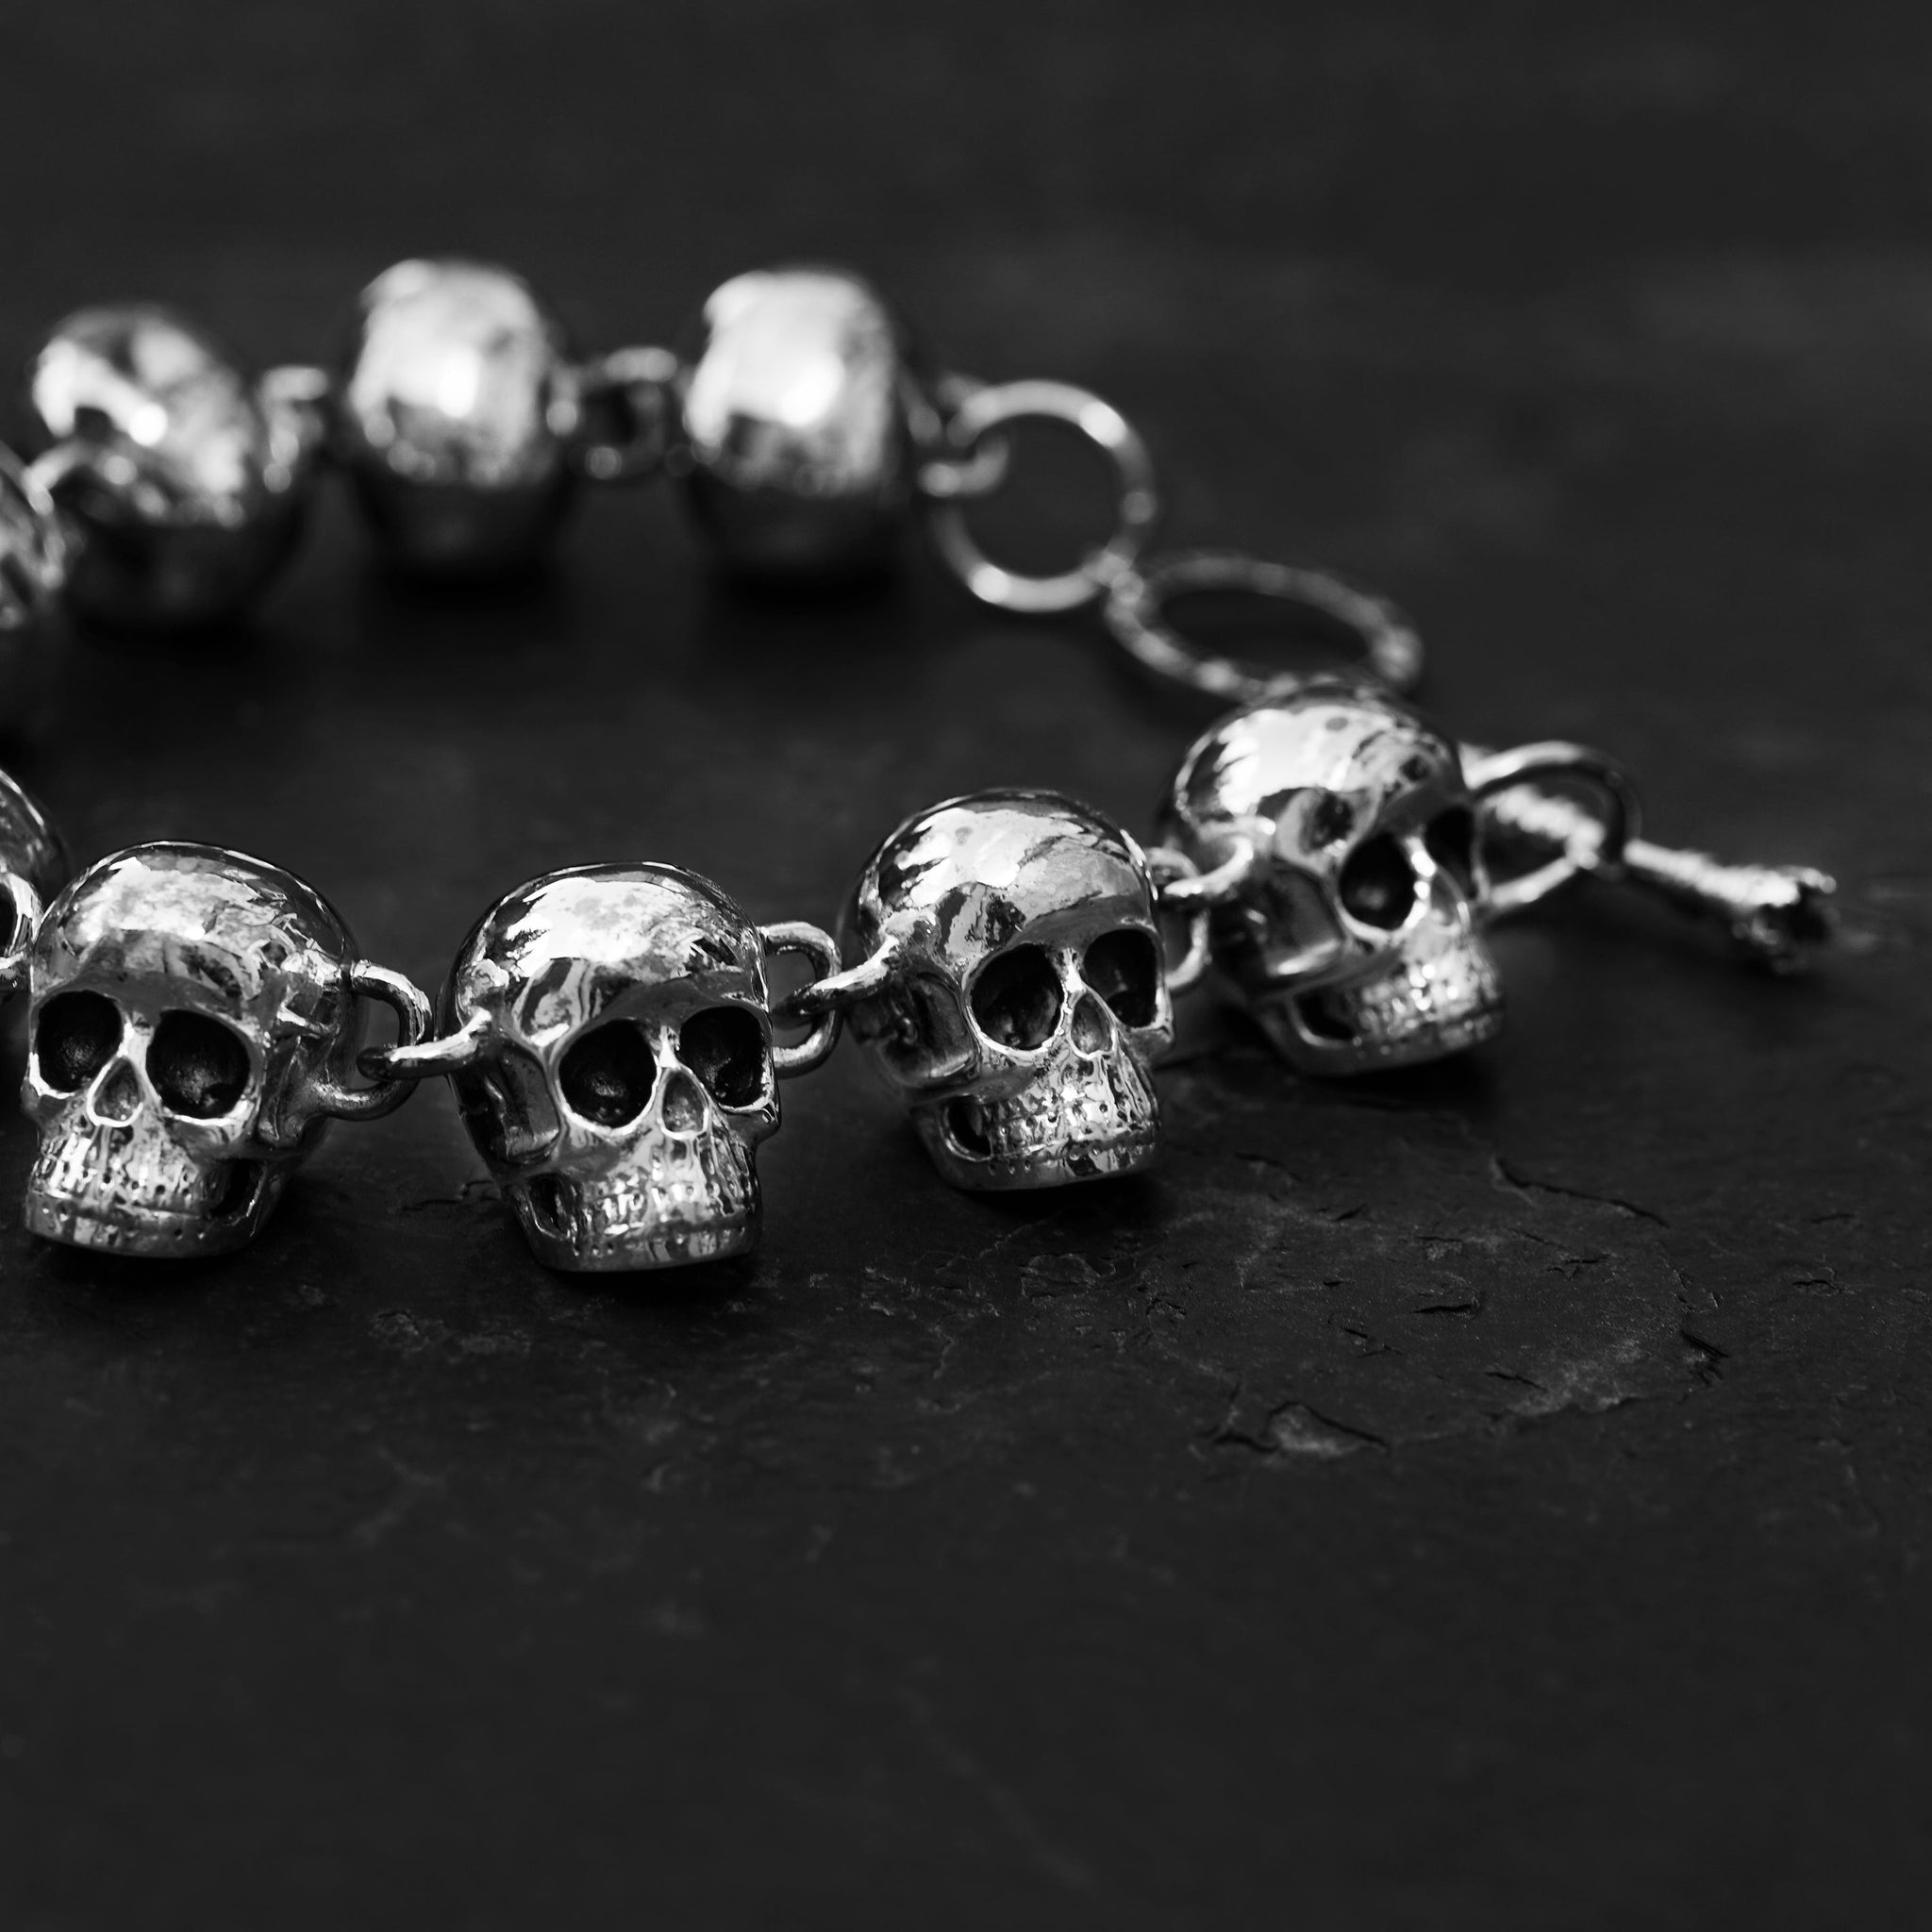
Skull Jewellery: History, Meaning, and Style
From rituals to runways, explore the story of skulls in jewellery- powerful emblems of life, death, and eternal transformation.
Shadows of the Wild - Fierce Animal Talismans
From pendants to charms, jewellery that carries the spirit of the animal world: symbols of power, mystery, and transformation.
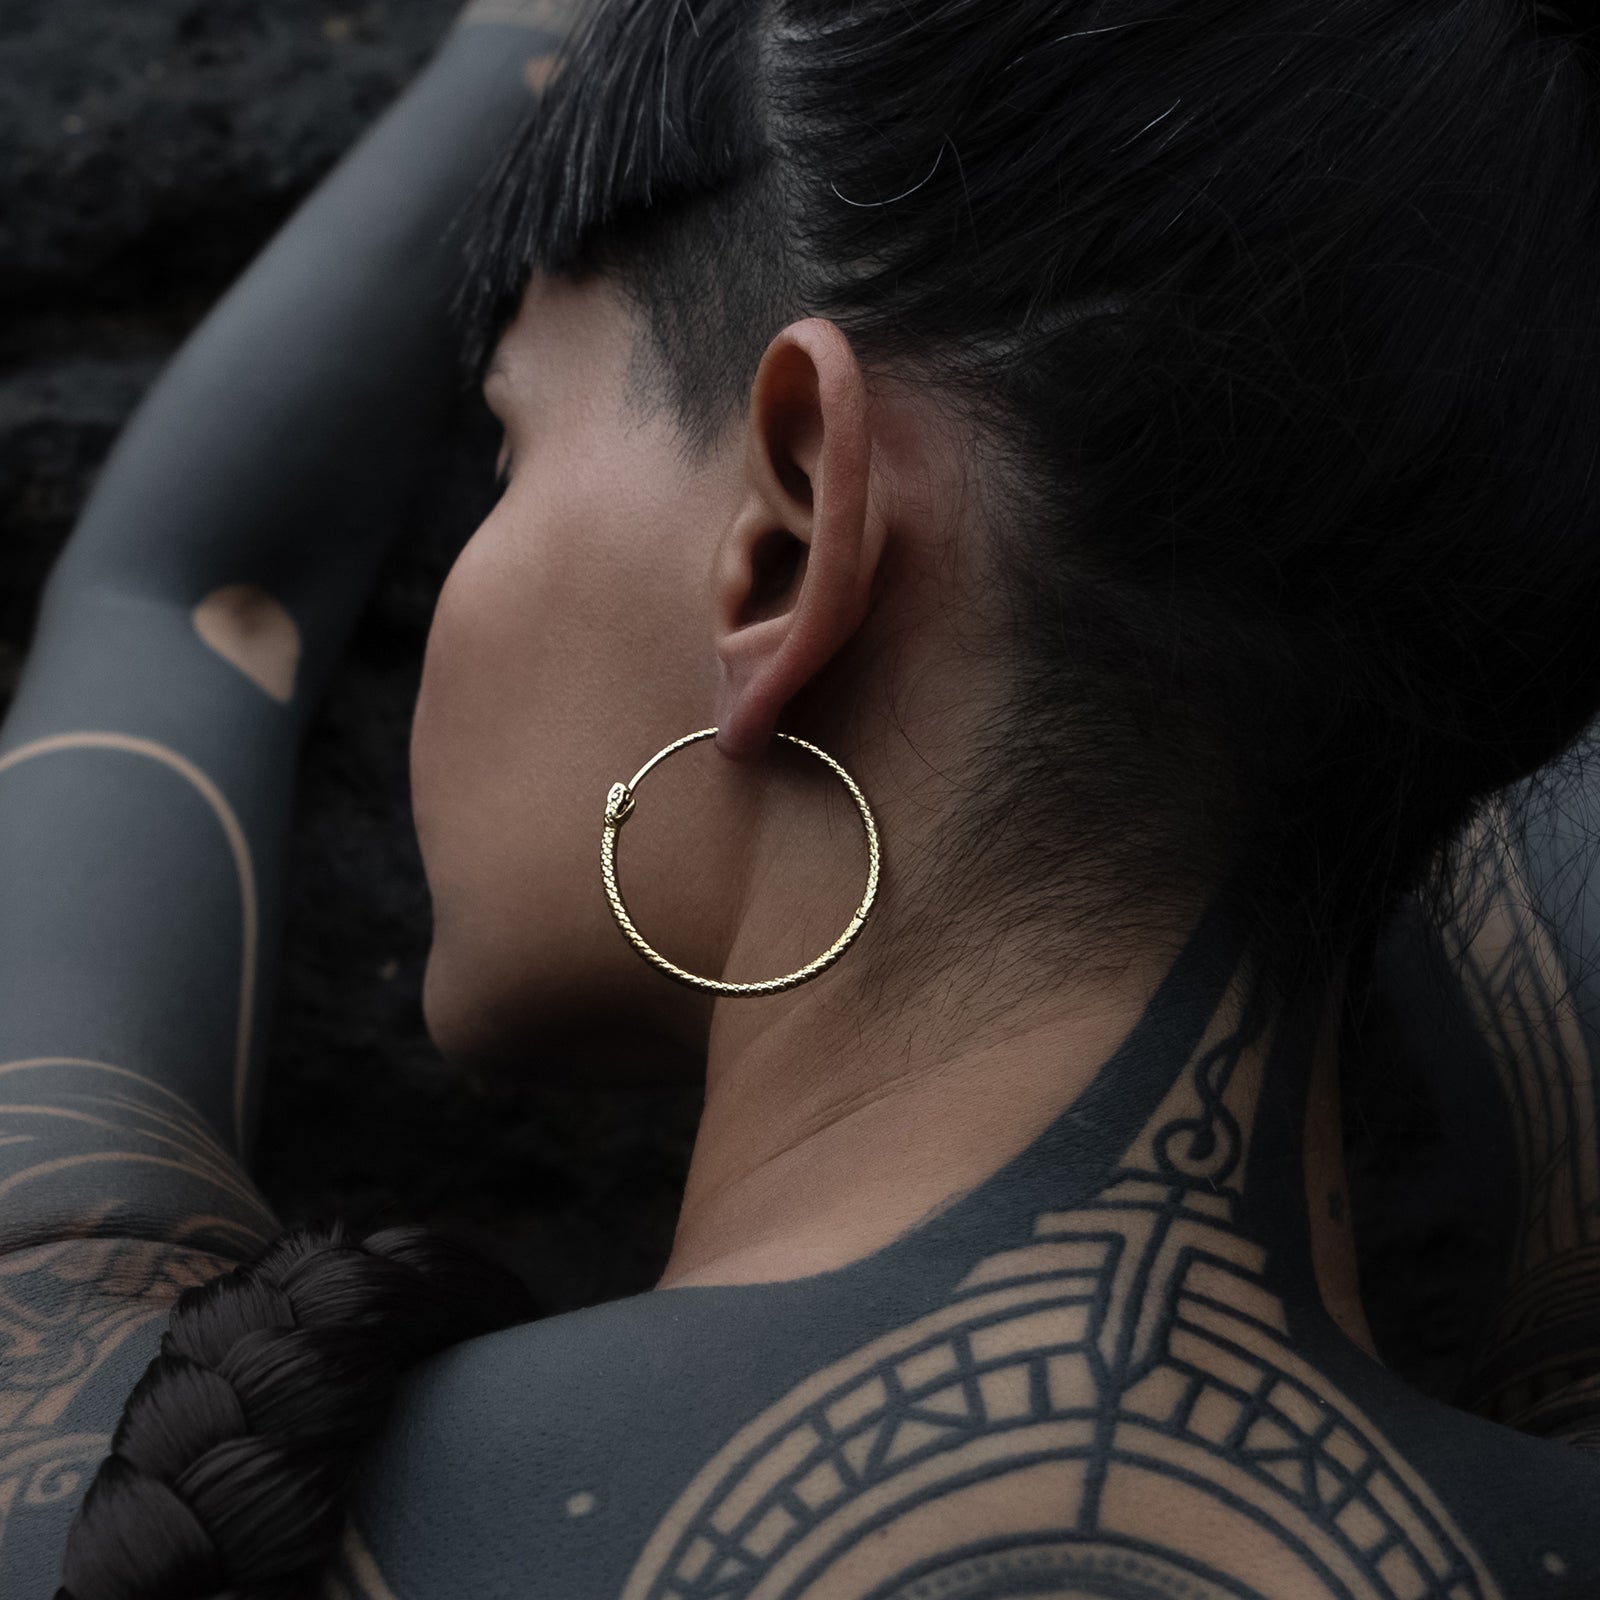
The Glow Up: Curating Your Summer Ear in Gold
Wearing gold in summer isn’t about making a statement- it’s about amplifying the one your body’s already making: that you’re here, glowing, alive, and unfiltered.
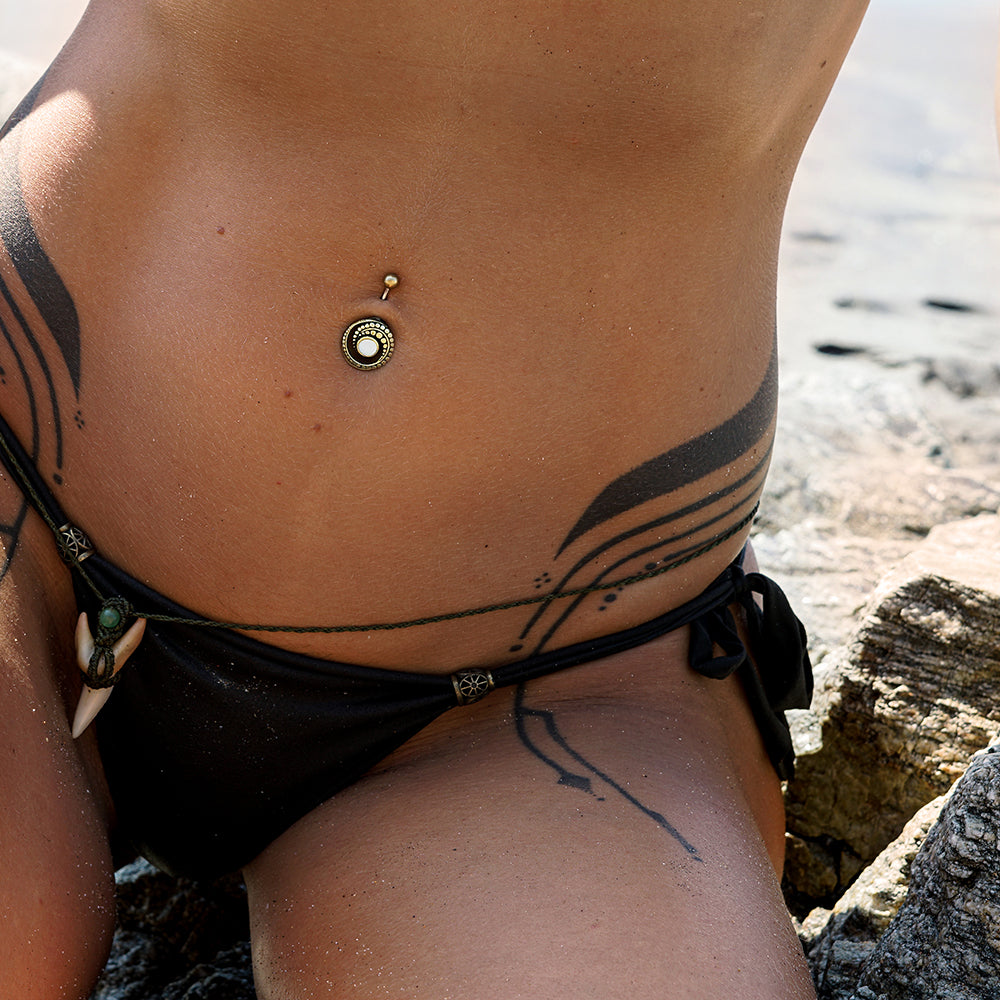
Time to Show Off Some Skin: Belly Piercings Are Back!
Explore the bold return of belly piercings, from ancient roots to modern edge. Discover styling tips, the Y2K revival, and unique belly bar designs to match your vibe.
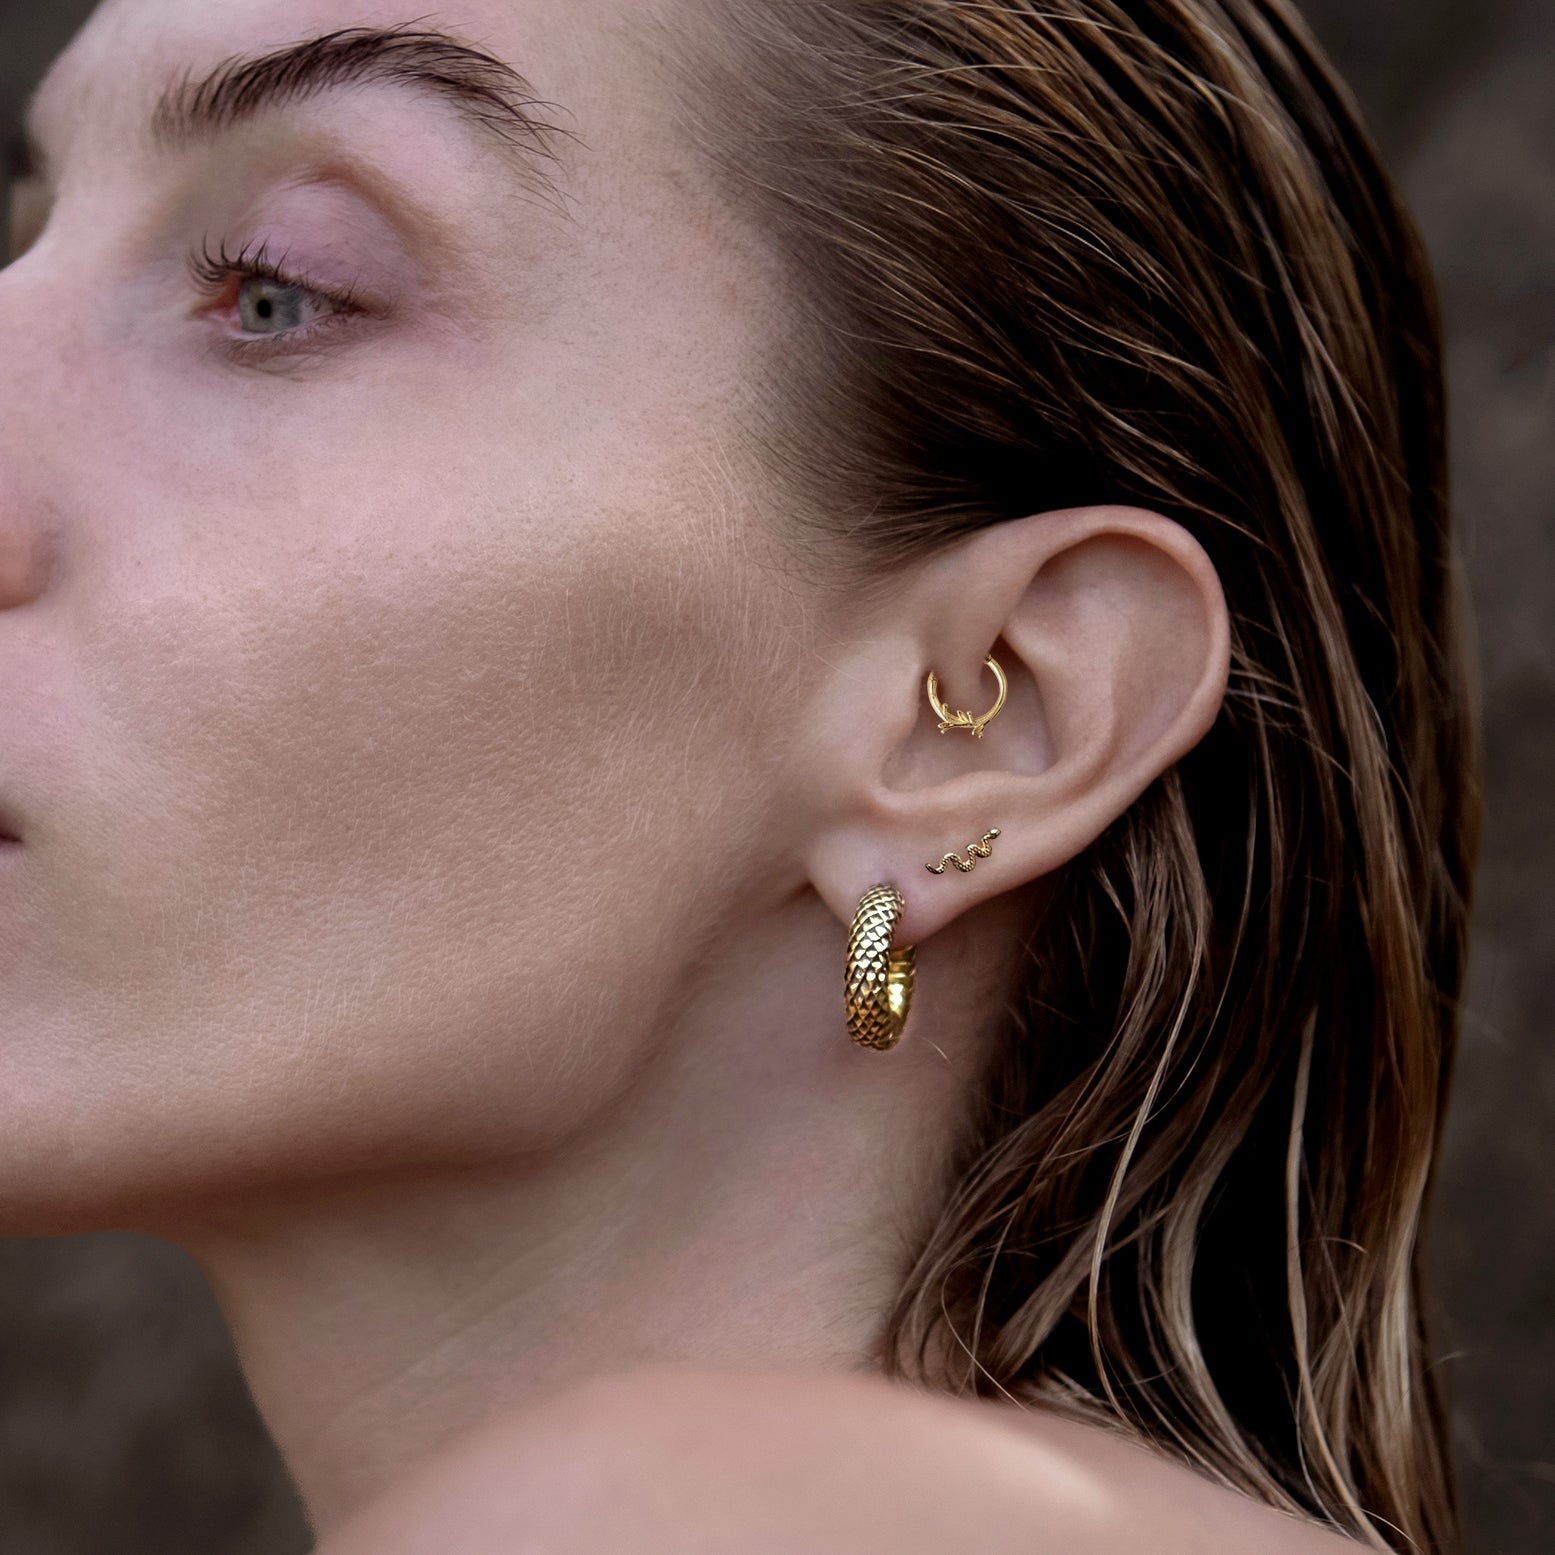
The Allure Of The Serpent
Dive into the allure of snake jewellery, where symbolism, style, and centuries of meaning come together in one powerful design.